
How to 3D Print Lithophanes
Lithophanes are pieces of art that you can 3D print and when you shine light from behind, it reveals the details in the image. The process starts by importing the image to a lithophane maker, which transforms the image into a 3D model that you can slice and send to the 3D printer. When you view it against the light, you will be able to see your image well. You can create interesting things with 3D printed lithophanes, for example, custom night lights or decorative lampshades, which, when you turn the lights on, the image glows beautifully, adding a personal touch to your room. You can also create photo frames in which you can incorporate different pictures, which can serve as a unique way to display the memories you cherish. You can bring anything you imagine to life quickly, and the ideas are unlimited.
All you need to prepare lithophanes is your photo, any of the best 3D printers, filament, slicing software, a lithophane maker, and a light source to test your lithophane. The photo you need should be simple and not have a lot of details and contrast, as pictures with too much detail can look muddy when printed. The subject of the photo should also be well visible as busy backgrounds can make the lithophane turn out poorly. Once you have your photo, use the tools below to create your lithophanes.
1. Using Itslitho-Free Online Lithophane Maker
Itslitho is a free online tool that you can use to create 3D printable lithophanes. It comes with an image editor that you can use to adjust the contrast of your image, and there is also a 3D model shapes option that comes with various shapes that you can use to customize the design based on your requirements. To use Itslitho, follow the steps below.
1. Visit the itslitho website and click Get Started.
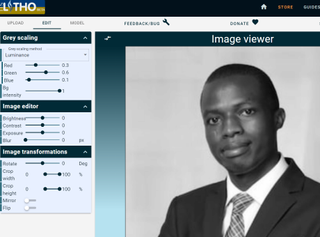
2. Upload the image by dragging and dropping it, or you can click UPLOAD and go to where you have stored your file, then upload it.
3. Go to Edit section and start editing your photo. You can adjust the colors, brightness, contrast, and exposure and rotate, crop, or flip the image.

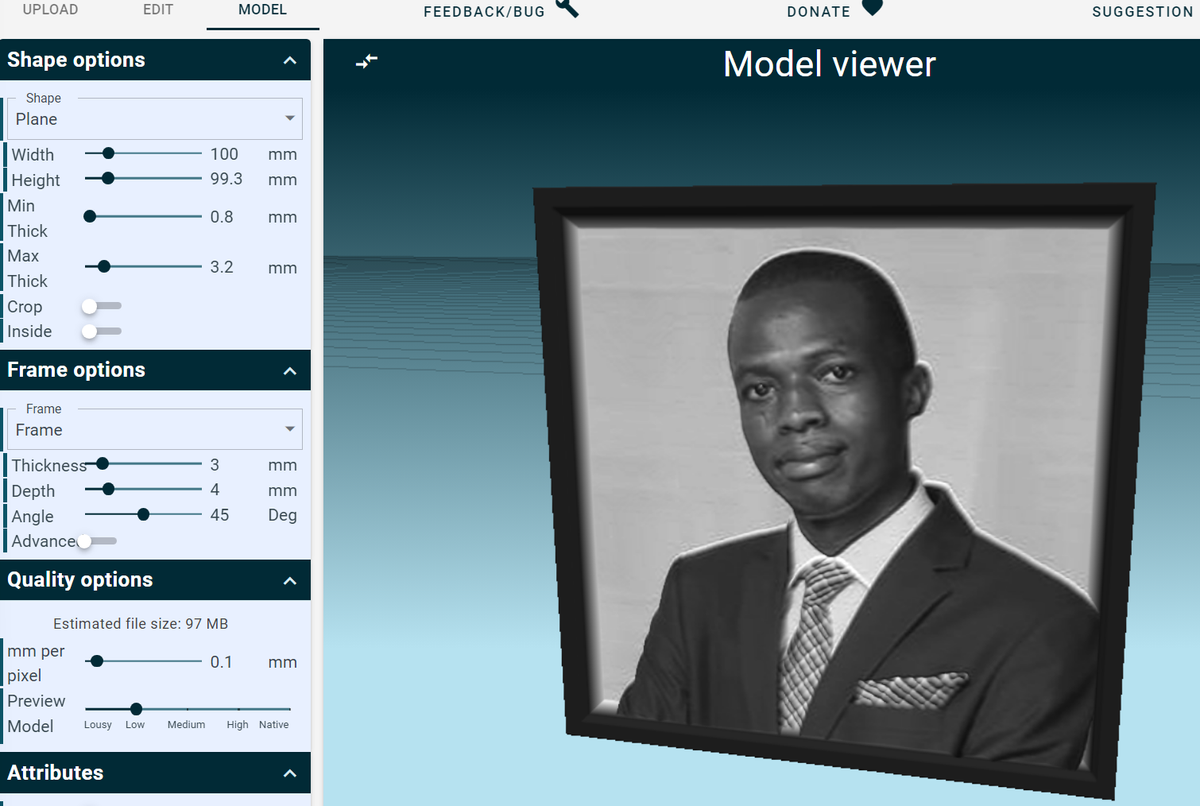
4. In the Model section, you can edit the 3D model generated based on your requirements. You can adjust the plane settings like the width, height, and thickness. There are also Frame options settings that allow you to adjust the frame accordingly.
5. After applying the settings, clock DOWNLOAD to download the file and 3D print.
6. When you click Download, you will see an option to download only the Lithophane or colored lithophane if you own a multi-color 3D printer. The software will take a few minutes to process your file and download.
2. Using Lithonmaker
Lithophanemaker runs online just like Itslitho and you can use it to turn pictures into lamp lithophane models, beautiful art gifts, ceiling fan lithophane, and many other versions. It’s one of the quickest options for creating lithophanes. Follow the steps below to use it.
1. Choose the design of your lithophane, then click the respective links. In my case, I will choose a flat lithophane.
2. In the interface that launches, upload the image by clicking on Choose file.
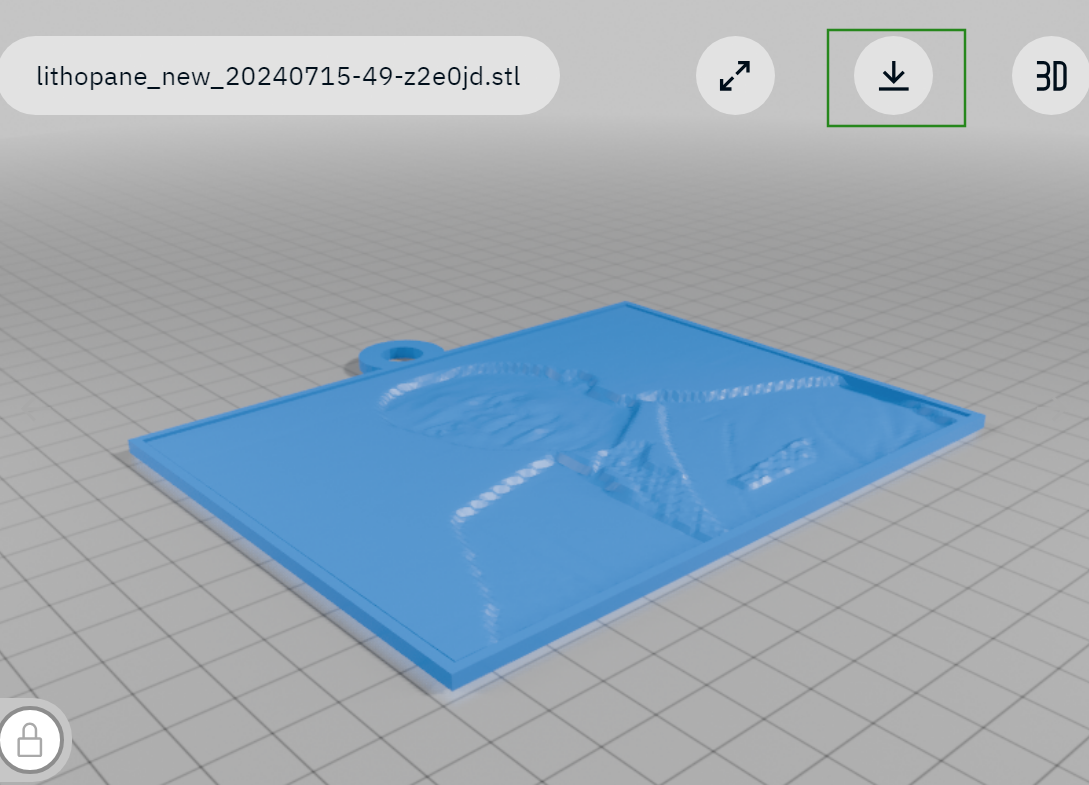
3. Choose a frame option. In my case, I will choose Framed Keychain Hole Top Left.
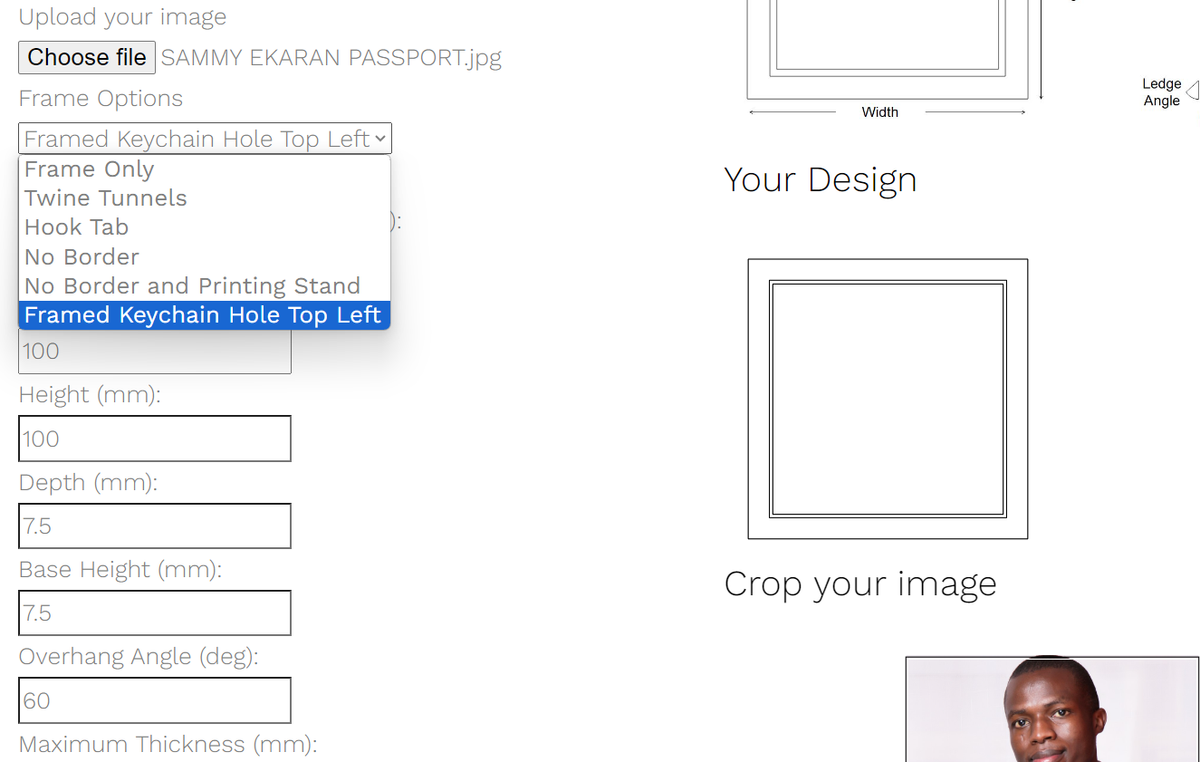
4. Specify the resolution, width, height, depth, and other settings based on your requirements. You can crop the image by specifying the X, Y, and rectangular Scale settings below the photo.

5. Add your email address, then Click Create .stl to download the 3D model.
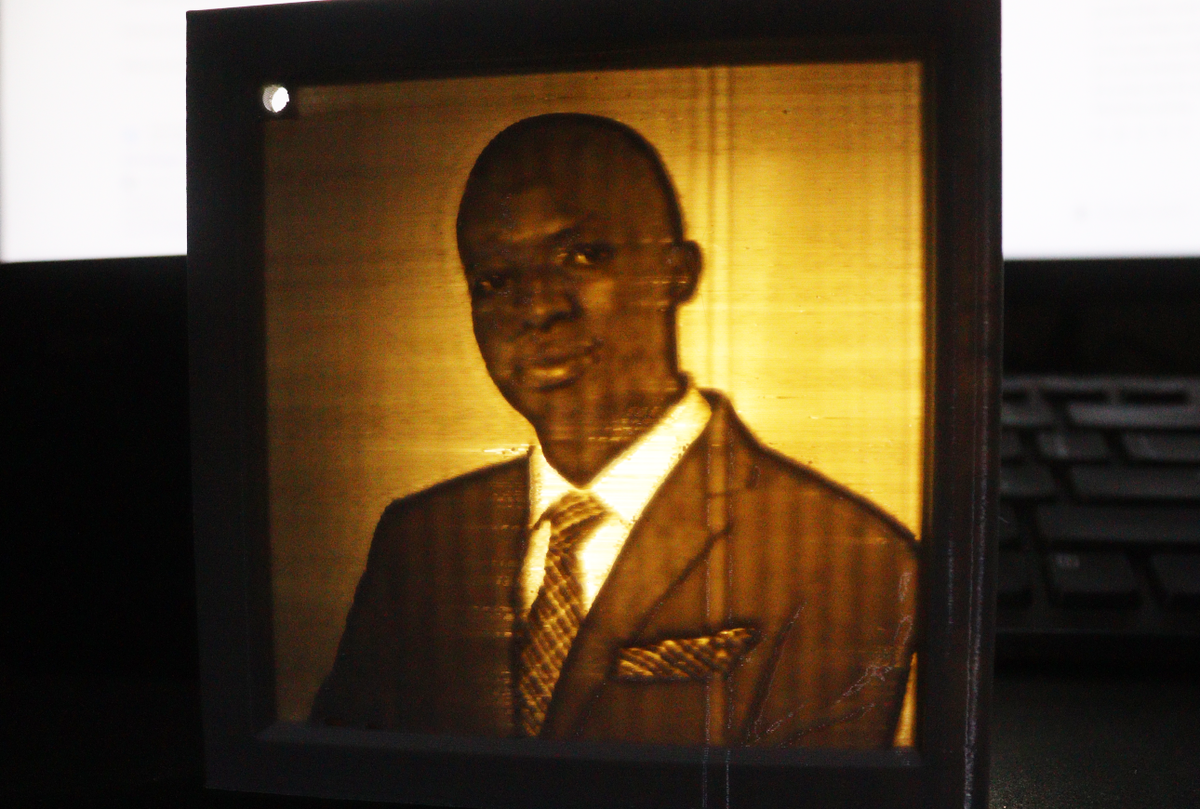
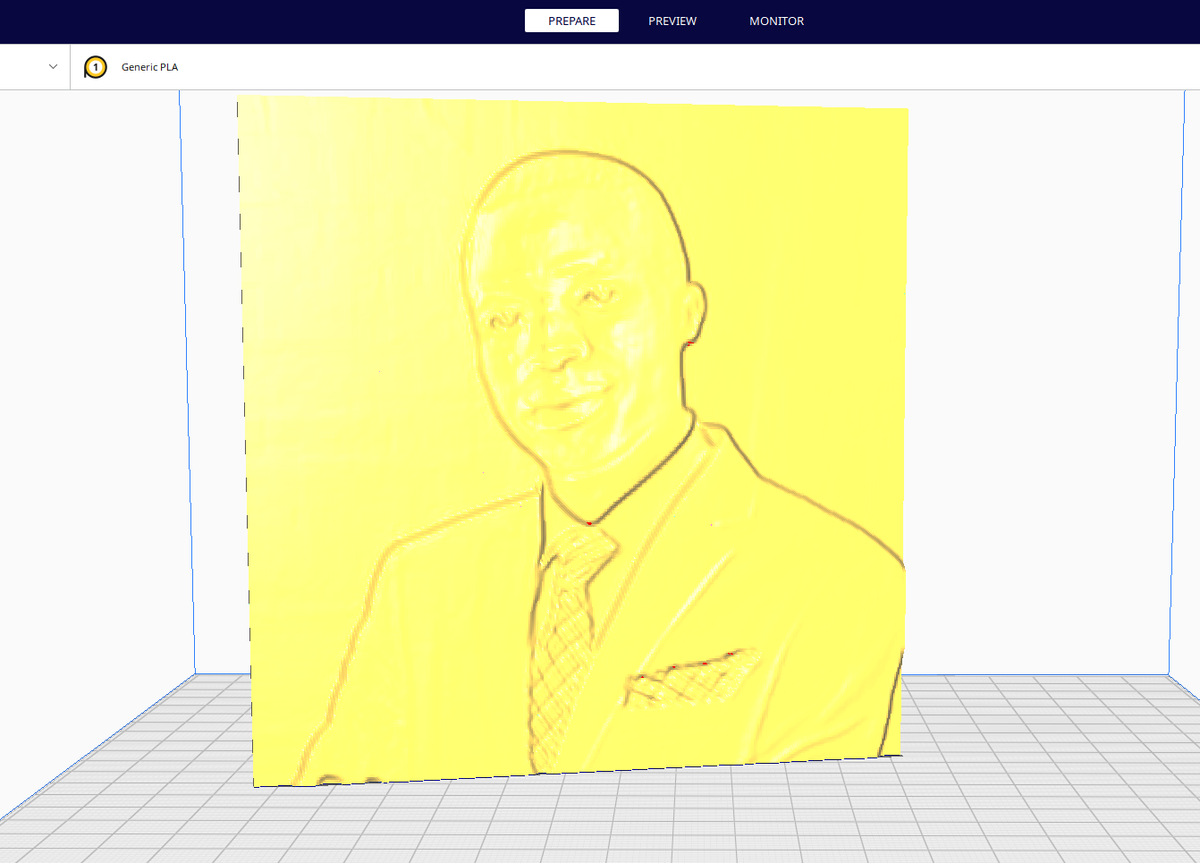
6. Import the file to a 3D slicing software like Cura and ensure the orientation is vertical. This leads to a higher quality lithophane as it reduces the influence of the printer bed.
It’s also recommended to 3D print with a white filament, most preferably PLA, as it provides the best contrast and visibility of the image and it allows light to pass easily. After 3D printing and shining light from behind, I got the results below.
You can also adjust the settings based on the photo you are using, and you can try other frame versions of the lithophanemaker, like the lamps and see how they turn out. If you have a multi-color 3D printer, you can use the color lithophane maker option to create colored lithophane
3. Using Cura
In addition to being a slicing software, you can also use Cura to turn photos into 3D models. This method is not recommended if you would like more customization, as it only works well with flat lithophanes. But it’s a great option if you would like something quick. To use Cura for creating lithophanes:
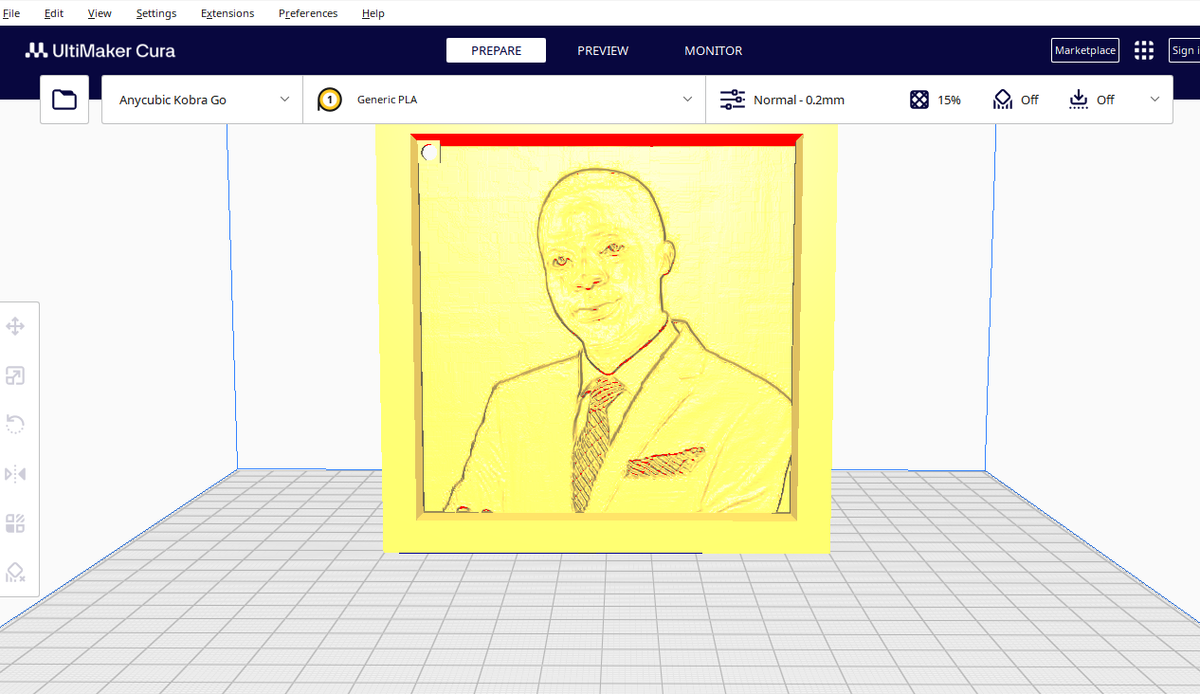
1. Launch the software and import the image by going to File > Open file(s).
2. In the new window that launches, you will see various settings that when you adjust they impact how your image appears.

The Height specifies the thickness of the design and you can maintain the default value, which is around 2.5mm, or increase it to a maximum of 4. Base option is the foundation of the design, Width is how wide the model will be, and the Depth setting controls the length of the model. When you increase it, the model will be longer. The Color mode setting determines how the printer interprets and translates different shades of color from the image. There are two modes: Linear and Transparent.
Transparent option allows light to pass through more evenly, creating a smoother gradient between light and dark areas, and it helps create a detailed lithophane. Linear, on the other hand is the default option and it can produce good results just like transparent but might not achieve the same level of smoothness in the light transitions. You can try each of them in your images and see which works better.
3. Click OK after applying your settings.

4. We shall then rotate the model to stand vertically before slicing.
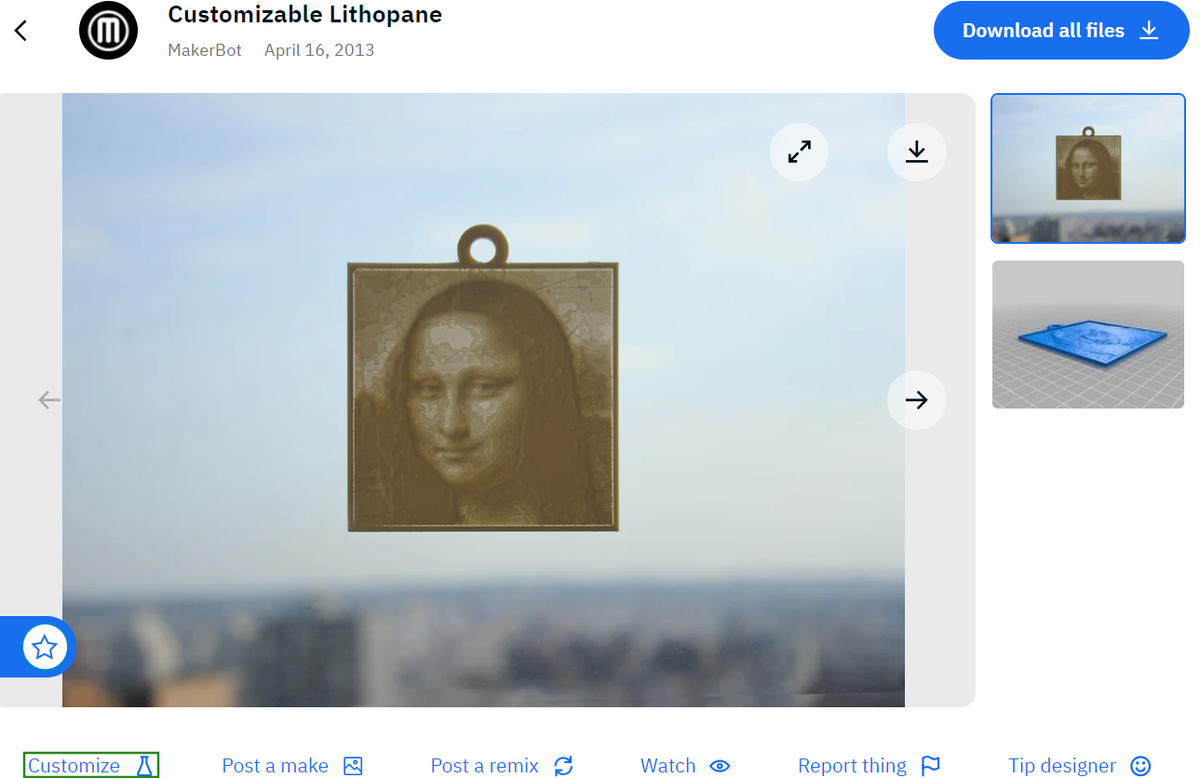
4. Using Customizable STL Files
Instead of creating the files from scratch, you can customize the already-designed files based on your requirements. Customizable Lithophane on Thingiverse is a great option that you can customize based on your requirements. To edit the file;
1. Click on the link mentioned above, then click Customize.
You will be redirected to a new window requiring you to log in or sign up if you don’t have a Thingiverse account.
2. Choose the picture shape, whether standard or HD wide.
3. Select the picture orientation, that is, vertical or horizontal. Also, choose the plane size, whether small or large. A small plane size is suitable for a quick and detailed print.
4. Upload the image by clicking on Choose File.
5. Specify whether to include a hole or not and its diameter. This is helpful if you would like to use it as a keychain. Set the layer height as well as the number of layers.
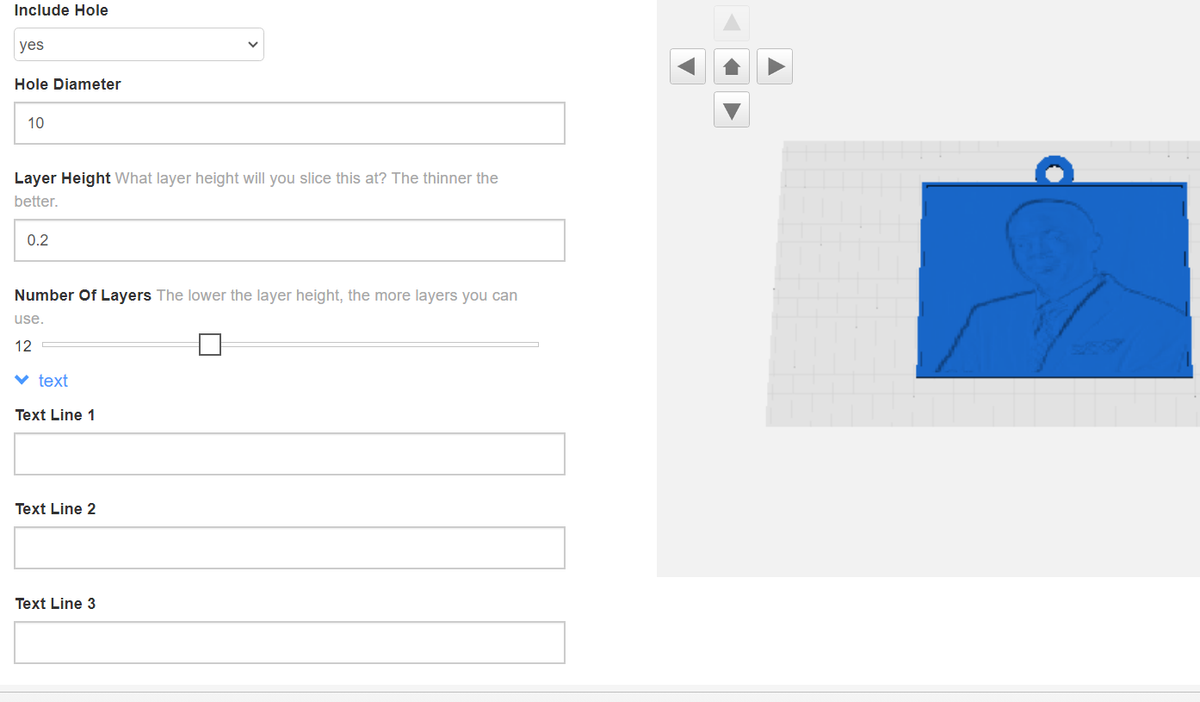
There is also an option to add text to your design.
6. Click Create a thing and it will take a few minutes to finish processing. You can access it on your things then click the download icon to get the file.
Ensure that when slicing, you orient it vertically, and also you should 3D print at a lower speed as high speeds can make the print fail.
Related articles
#Print #Lithophanes