

[ad_1]
How to insert a line in Word

Pixabay/Pexels
Microsoft’s flagship word processor has tons of neat little features to customize your documents, and it can be hard to keep track of and master them all. But with our quick guides to using Word, we can help you learn how to use the tools you’ll need to get up and running and make the most out of it.
If you want to learn how to insert a line in a Word document, you’ve come to the right place. In this guide, we’ll show you how to insert a line in Word. Using a few different methods, you can choose the one that augments your workflow in Microsoft Word the best.
How to draw a line in Word using the Shapes menu
If you’d like your line to be a particular length, you can draw it in Word using an option in the Shapes menu.
Step 1: Open your Word document or create a new one.
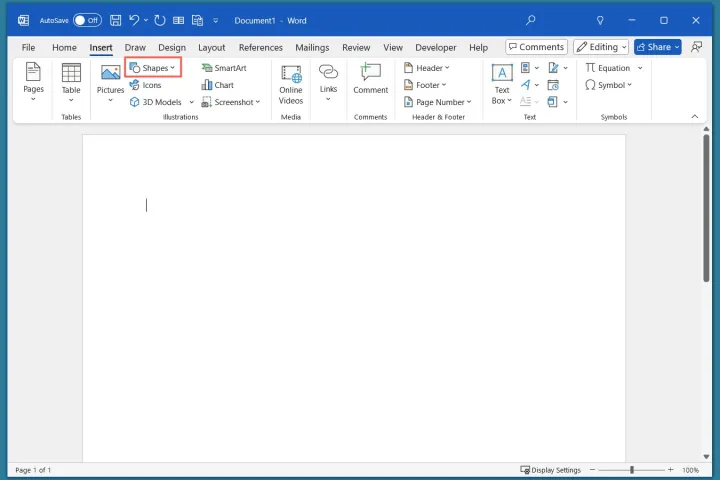
Step 2: Go to the Insert tab and select Shapes.
Digital Trends
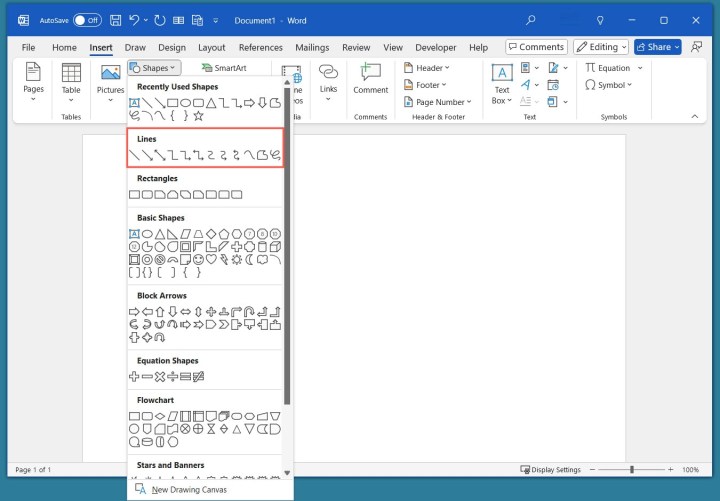
Step 3: Within the section labeled Lines, choose your preferred line style.
Digital Trends
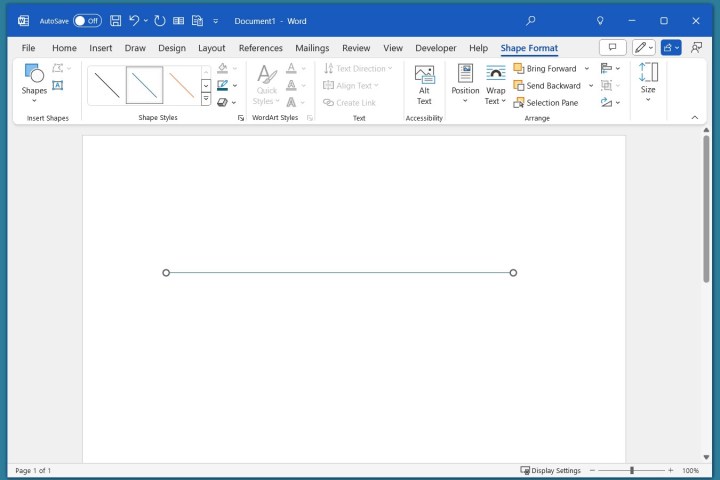
Step 4: Move your mouse pointer to where you want to insert your line, and click and hold it as you drag it across the page to the desired endpoint of your line. Then release your hold.
Digital Trends
How to insert a line in Word using the keyboard AutoFormat
Maybe you prefer to tackle tasks in Word using keyboard shortcuts. If so, you can insert a line using the keyboard AutoFormat feature.
Step 1: Open your Word document or create a new one.
Step 2: In the document, put your cursor where you want to insert the line. Then press the Hyphen key on your keyboard three times. (This key should be located in between the zero key and the plus/equal sign key.) Then press the Enter key.
Step 3: A line that stretches between both ends of the width of the page (minus the margins) should automatically appear. If you want to type on the line or insert a signature, simply move your cursor above the line to add your text.

Digital Trends
Step 4: You can customize the style of your inserted line by choosing a different keyboard key to press three times. For example, pressing the Plus/Equal Sign key three times and then Enter will produce a set of two parallel lines. Here are some other options:
- Three asterisk key presses: Produces a line of square dots.
- Three underscore key presses: Produces a bold line.
- Three number sign key presses: Produces a group of three lines (one bold with two thin).
- Three tilde key presses: Produces a zig-zag line.
Note: The above bulleted line styles will require using the Shift key plus the key listed and then Enter in order to work.

Digital Trends
How to insert a line in Word using the Borders menu
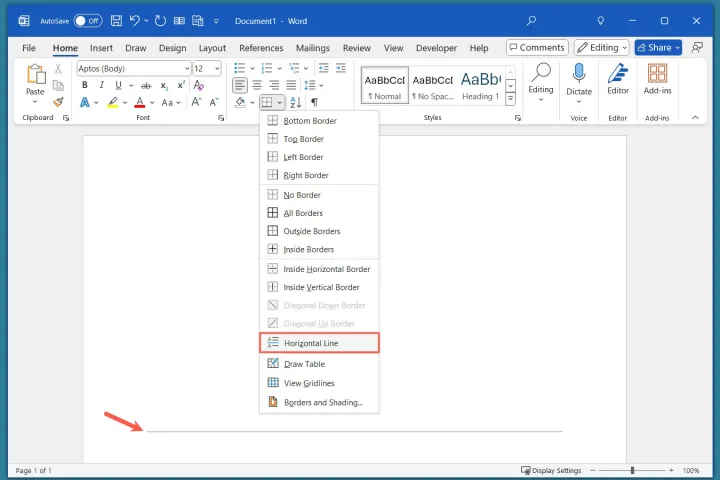
If you want a simple horizontal line that stretches from the left to the right margin, you can use an option in the Borders menu.
Step 1: Open your Word document or create a new one.
Step 2: Place your cursor where you want the line.
Step 3: Go to the Home tab, open the Borders menu, and choose Horizontal Line.
Digital Trends
FAQs
How do you insert a line through a word?
You can easily apply what’s called strikethrough formatting to a word, sentence, or paragraph in Word. Select the text, go to the Home tab, and choose Strikethrough in the Font section of the ribbon.
How do I put a line around a word in Word?
With the Borders menu in Word, you can add a line around a word or other text. Select the text, go to the Home tab, and open the Borders menu. Pick the Outside Borders option to place a line around the entire text.
How do I insert a horizontal line in Docs?
If you use Google Docs instead of Microsoft Word, you can insert a horizontal line easily in that application as well. Open your Google Doc and place your cursor where you want the line. Select the Insert tab and pick Horizontal line.
[ad_2]
Source link
#insert #line #Word