
Montech Hyperflow ARGB AIO Review: Top-tier performance at a budget price
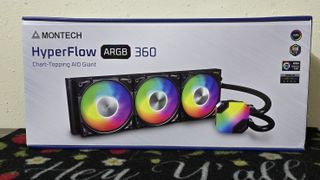
In recent months, we’ve tested high-end, high-price coolers from well-known brands like Cooler Master and Lian Li. But today we’re looking at the 240mm and 360mm variants of the Hyperflow ARGB AIO made by Taiwanese manufacturer Montech PC. The company’s lineup currently includes keyboards, cases, CPU coolers, and power supplies.
What initially caught my attention about Montech’s Hyperflow ARGB were the company’s bold claims of top-tier cooling performance paired with a budget price of $94.99 USD for the 360mm AIO. Does Montech have what it takes to make our list of best performing coolers? Let’s take a quick look at the units’ specifications, then we’ll dive into their features and our testing.
Cooler specifications
| Cooler | Hyperflow ARGB 360 | Hyperflow ARGB 240 |
|---|---|---|
| MSRP | $94.99 USD | $84.90 USD |
| Heatsink Material | Aluminum | Aluminum |
| Warranty | 6 Years | 6 Years |
| Socket Compatibility | Intel Socket LGA 1851/1700/1200/115x AMD AM5 / AM4 | Intel Socket LGA 1851/1700/1200/115x AMD AM5 / AM4 |
| Base | Copper | Copper |
| Average Maximum TDP (Our Testing) | ~275W with Intel’s i7-14700K | ~256W with Intel’s i7-14700K |
Packing and included contents
The outside of the box advertises the essential design of the unit (we’ll primarily be focusing on the 360 model), as well as its compatibility certifications.

Included in the box are the following:
- 28mm thick 120mm fans, pre-installed
- 27mm thick radiator of 240mm or 360mm size
- Cable management clips
- Pre-installed and additional thermal paste
- Mounting for modern AMD and Intel platforms

Features of Montech’s Hyperflow ARGB 360mm and 240mm AIOs
*️⃣ Pre-installed Metal Pro 12 ARGB 28mm Fans
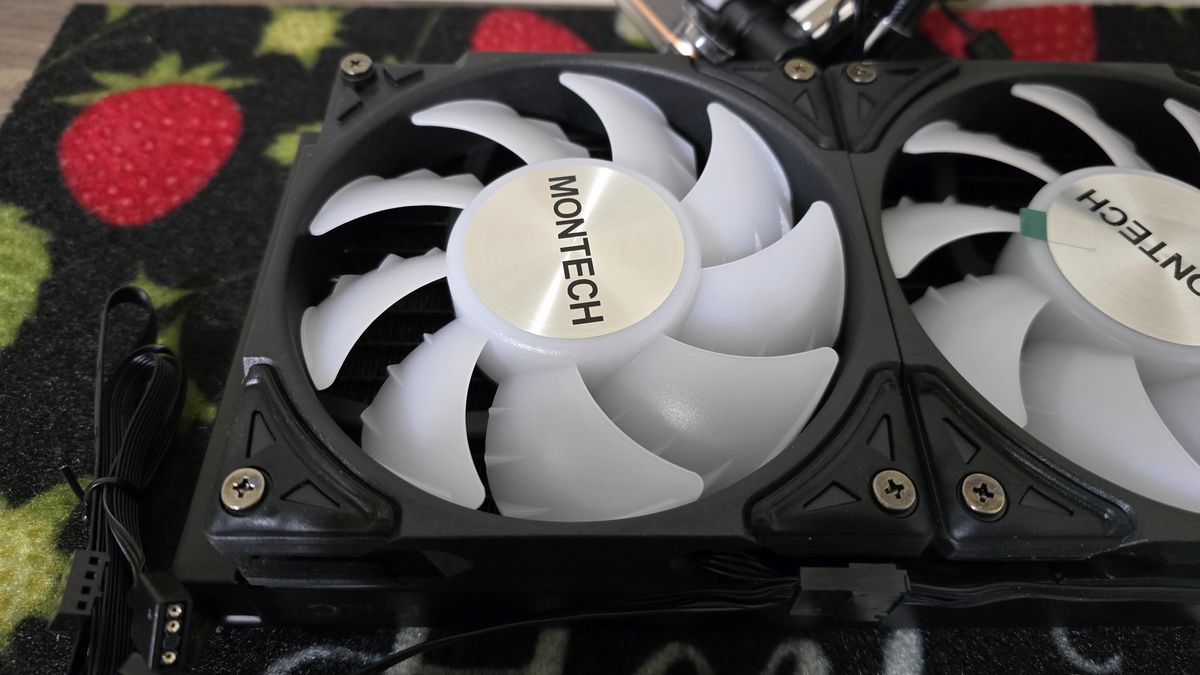
There’s more to a cooler than just the heatsink or radiator. The bundled fans have a significant impact on cooling and noise levels, as well as how the cooler looks in your case. The included 120mm fans are 3mm thicker than typical fans at 28mm are rated for 3.81 mmH2O static pressure, and feature ribs to help stabilize the blades. These fans also support 3-pin ARGB lighting.
To make installation easy for users, these fans feature a quick-connect system to reduce cable clutter and have been pre-installed by Montech, saving users a few minutes of setup time.

| Model | Metal Pro 12 ARGB |
| Dimensions | 120 x 120 x 28mm |
| Fan Speed | 600-2200 RPM ± 10% |
| Air Flow | Up to 76.2 CFM |
| Air Pressure | Up to 3.81 mmH2O |
| Bearing Type | FDB |
| Lighting | ARGB and non-ARGB variants available |
*️⃣ Budget price tag, strong performance
Many of the strongest AIOs come with high price tags, we’ve recently reviewed one that costs $349.99 USD! But Montech provides competitive thermal performance for less than 1/3 of that price at only $94.99 USD for the 360mm model and $84.99 USD for the 240mm variant.
*️⃣ 3100 RPM Liquid Pump

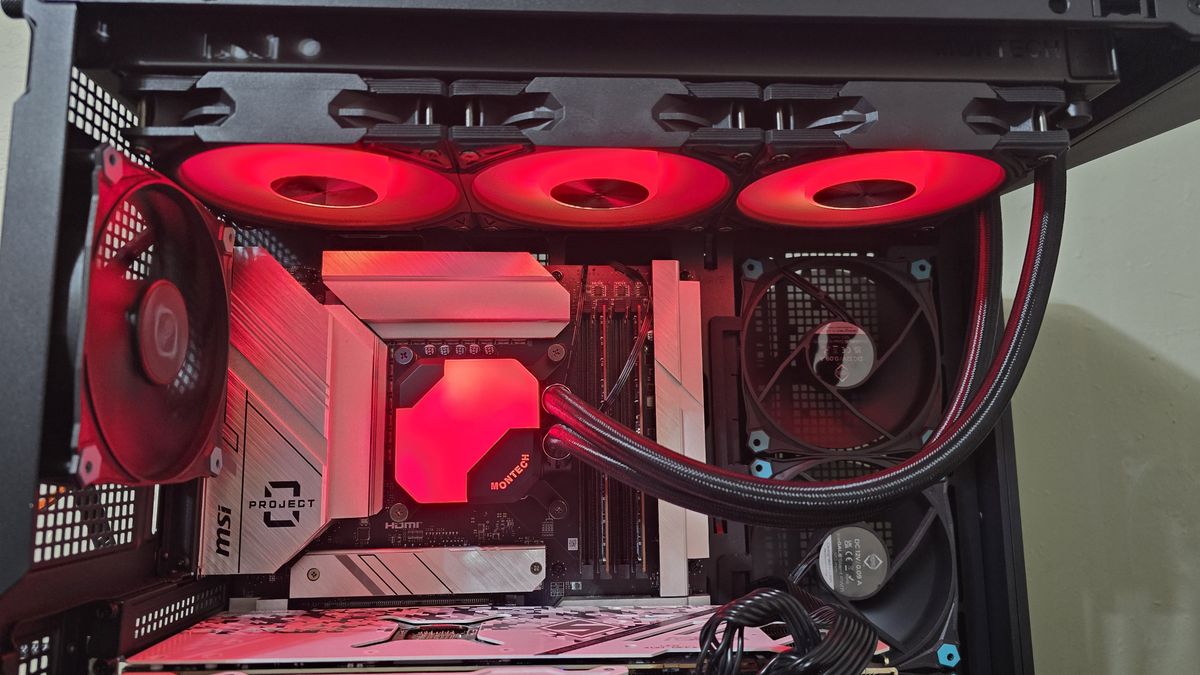
Montech’s Hyperflow ARGB features a 3100 RPM liquid pump with low noise levels. The marketing team claims the CPU block resembles an elegant gemstone. As you’ll see in the thermal benchmarks below, their pump offers strong thermal performance competitive with the best on the market.
*️⃣ Pre-applied and extra thermal paste
While the AIO has pre-applied thermal paste for convenience, Montech also includes a small tube of its high-performance thermal paste for an additional installation in the future.

*️⃣ Black or White models available
The Hyperflow ARGB offers models of black or white design to match the aesthetic design of your computer. The 360mm model we tested, shown below, was the black model. The 240mm we tested was the white version.
Testing Methodology
I do a few things differently than many other reviewers, to ensure my results are actually useful. To begin, I strictly regulate the ambient temperature to 23 degrees C during testing. I do not accept results at 22 or 24C as valid, even though in theory there won’t be much of a difference in terms of test results.
I also do my best to emulate the conditions a user would experience in real life, and tested in a real case – not on an open bench, which can decrease the difficulty of cooling.
Many other reviewers, and also most of my own older reviews, only test coolers with a load running on the CPU. While this does provide good and useful information, it doesn’t paint a complete picture of how a cooler will perform. Many workloads, and especially gaming, will stress both the CPU and GPU. As such, to test how well a CPU’s cooler will perform in these situations I’ve added two tests: one with a light CPU and one with a moderate CPU load, both while running a full load on with AMD’s Radeon RX 7900GRE.
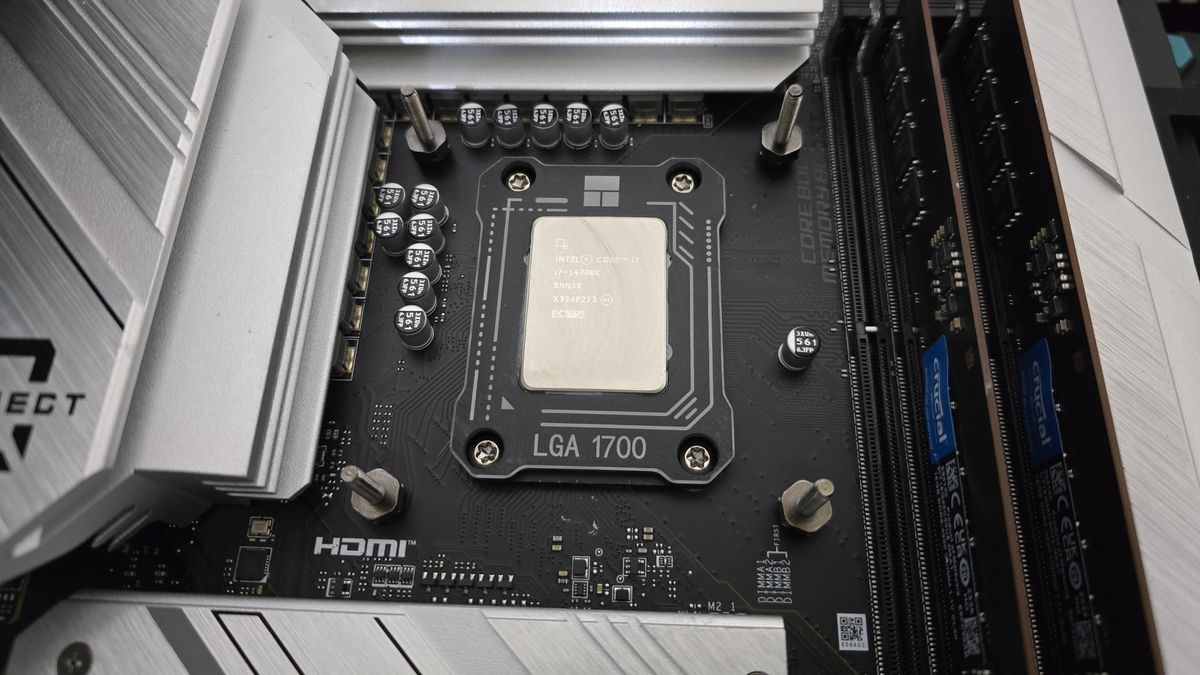
Testing configuration – Intel LGA1700 platform
| CPU | Intel Core i7-14700K |
| Motherboard | MSI Z790 Project Zero |
| Case | MSI Pano 100L PZ Black |
| System Fans | Iceberg Thermal IceGale Silent |
| PSU | Silverstone HELA 1300 |
There are many factors other than the CPU cooler that can influence your cooling performance, including the case you use and the fans installed in it. A system’s motherboard can also influence this, especially if it suffers from bending, which results in poor cooler contact with the CPU.
In order to prevent bending from impacting our cooling results, I’ve installed Thermalright’s LGA 1700 contact frame into our testing rig. If your motherboard is affected by bending, your thermal results will be worse than those shown below. Not all motherboards are affected equally by this issue. I tested Raptor Lake CPUs in two motherboards. And while one of them showed significant thermal improvements after installing Thermalright’s LGA1700 contact frame, the other motherboard showed no difference in temperatures whatsoever! Check out our review of the contact frame for more information.
LGA 1700 Installation
1. Place the CPU bracket against the rear of the motherboard. Secure it using the included standoffs. You’ll want to be careful while installing these standoffs, as improper threading can result in difficulty removing them from the motherboard down the line.
2. If you haven’t already, secure the radiator and fans to your computer case.
3. Remove the plastic covering from the CPU block, and place it against the CPU. Use the included top screws to secure the block to the standoffs.
4. Connect the PWM and (optionally) the ARGB cables to your computer’s motherboard.

#Montech #Hyperflow #ARGB #AIO #Review #Toptier #performance #budget #price