
Raspberry Pi AI Camera Review: AI for the masses
It may not come as a big surprise. After all, the $70 Raspberry Pi AI Camera was spotted at Embedded World 2024, but the news of a new AI-enabled camera for the Raspberry Pi is a welcome addition to Raspberry Pi’s new range of AI products, starting with the Raspberry Pi AI Kit back in June.
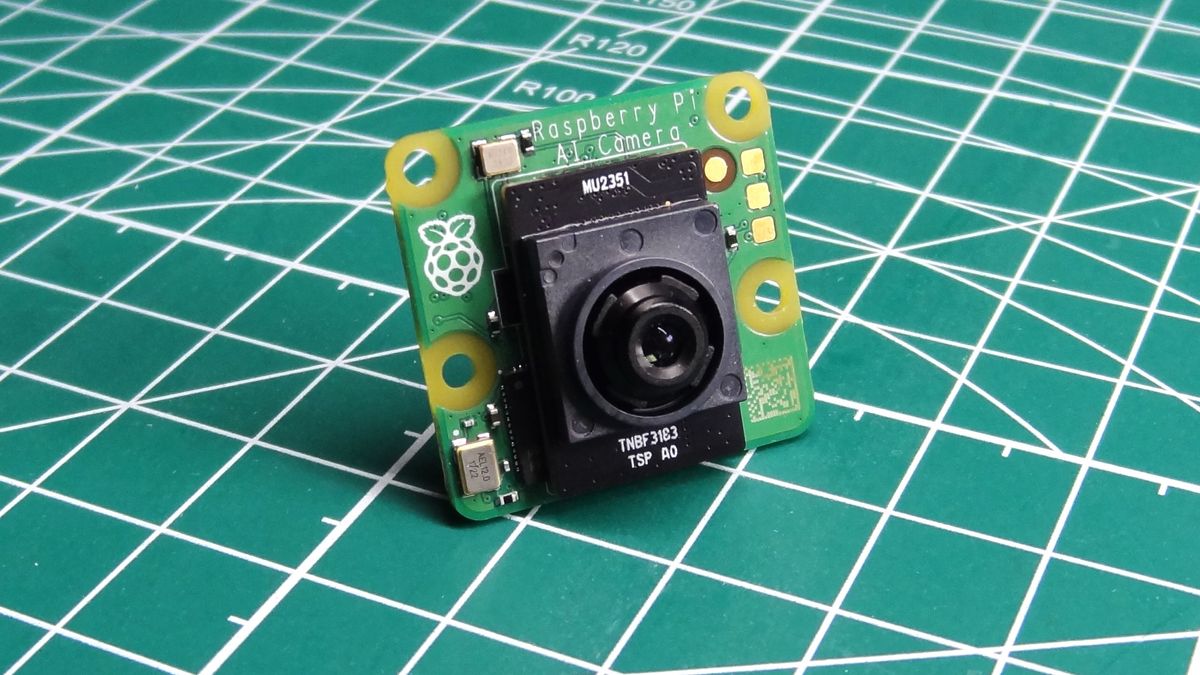
The Raspberry Pi AI Camera kit is a capable AI device which has another Raspberry Pi at its heart. Just underneath the sensor lies an RP2040. The same SoC as found in the Raspberry Pi Pico. It may not be as powerful as the RP2350 found in the Raspberry Pi Pico 2, but it has enough computational power to run basic inference models. This is where it gets interesting. The RP2040 is doing all of the computational work for the AI model. The Raspberry Pi’s CPU is sitting idle. This means that power consumption is much lower than using the Pi’s CPU. Put this AI camera in a low power Raspberry Pi Zero 2 W board, and we have a potent cocktail for embedded AI projects.
At Embedded World, the Raspberry Pi AI Camera was being run on a Raspberry Pi Zero 2W and showed a steady 30fps while tracking people at the convention booth.
Is the Raspberry Pi AI Camera worth your $70, or should you pony up the cash and buy into the Raspberry Pi AI Kit instead? Let’s find out!
Raspberry Pi AI Camera Technical Specifications
| Header Cell – Column 0 | AI Camera | Camera Module v3 |
|---|---|---|
| Sensor | Sony IMX500 | Sony IMX708 |
| Optical Size | 7.857mm sensor diagonal | 7.4mm sensor diagonal |
| Sensor Resolution | 12.3 Megapixels | 11.9 Megapixels |
| Still Resolution | 4056 × 3040 pixels | 4608 × 2592 pixels |
| Input Tensor Maximum Size | 640 x 640 | N/A |
| Framerate | 2×2 binned: 2028×1520 10-bit 30fps Full resolution: 4056×3040 10-bit 10fps | 1080p50, 720p100, 480p120 |
| Autofocus System | No, manual focus | Motorized |
| Focus Range | 20 CM to infinity | 10 CM to infinity |
| Focal Length | 4.74mm | 4.74mm |
| Dimensions | 25 x 24 x 11.99mm | 25 × 24 × 11.5mm (12.4mm height for Wide variants) |
Raspberry Pi AI Camera Design and Installation
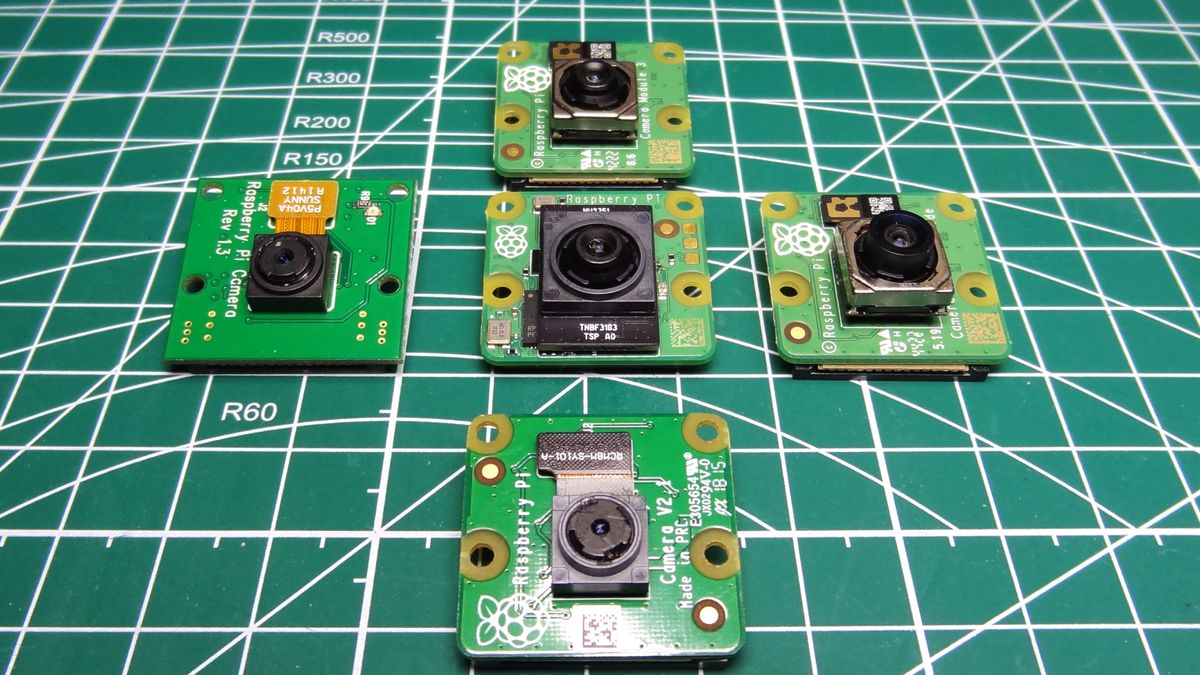
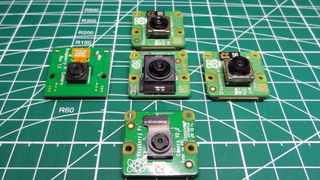
Put the new Raspberry Pi AI Camera against the Raspberry Pi Camera Module V3 and you can see the family resemblance. At a casual glance they look the same, but the new AI camera has a larger plastic shroud around the sensor, and hidden under it is an RP2040.
The AI camera has the same mounting holes to secure the camera into a holder. My 3D printed holder worked well, but the extra size around the sensor means that it won’t fit every camera mount, just like the V3.
This is Raspberry Pi’s first AI camera, born from a partnership with Sony, which also manufactures our favorite single board computer. This may be the first AI camera from Raspberry Pi, but it can also be used as a typical camera. I managed to take images and video at the maximum resolution of 4056 x 3040. For video I would drop this down to 1080p though as the highest resolution will drop the FPS considerably.

Installation was a breeze. Plug in, power up and update the software. Because this was a review unit, I did have to follow a few extra steps that consumers will not. To start with, our review unit didn’t work as expected, it turns out that I needed to update the firmware to the latest version. With that out of the way, I was able to test the camera.
Using the Raspberry Pi AI Camera
If you have ever used a Raspberry Pi camera, or the latest AI kit, then you are right at home. To put it simply, the AI camera behaves in a similar manner to the AI kit. It has TensorFlow support, and comes with models to identify some objects and human poses, and all of this is done inside the RP2040.
Yes, the Raspberry Pi 5’s Arm based SoC is left idle while the AI camera does all of the work. This leaves the Raspberry Pi 5 to handle other, more CPU intensive tasks while the AI camera does all the AI. While running our tests we kept an htop (terminal application to monitor system resources) session open. We could see that all four of the CPU cores were running at less than 10%!
I tested the AI camera with two models, a mobilenet object detection model and a posenet model that is used to detect a human pose. Both of the models worked at 640 x 480 pixels and kept to a steady 30 fps, even during my “thrilling” moments of “animated pose detection” testing.
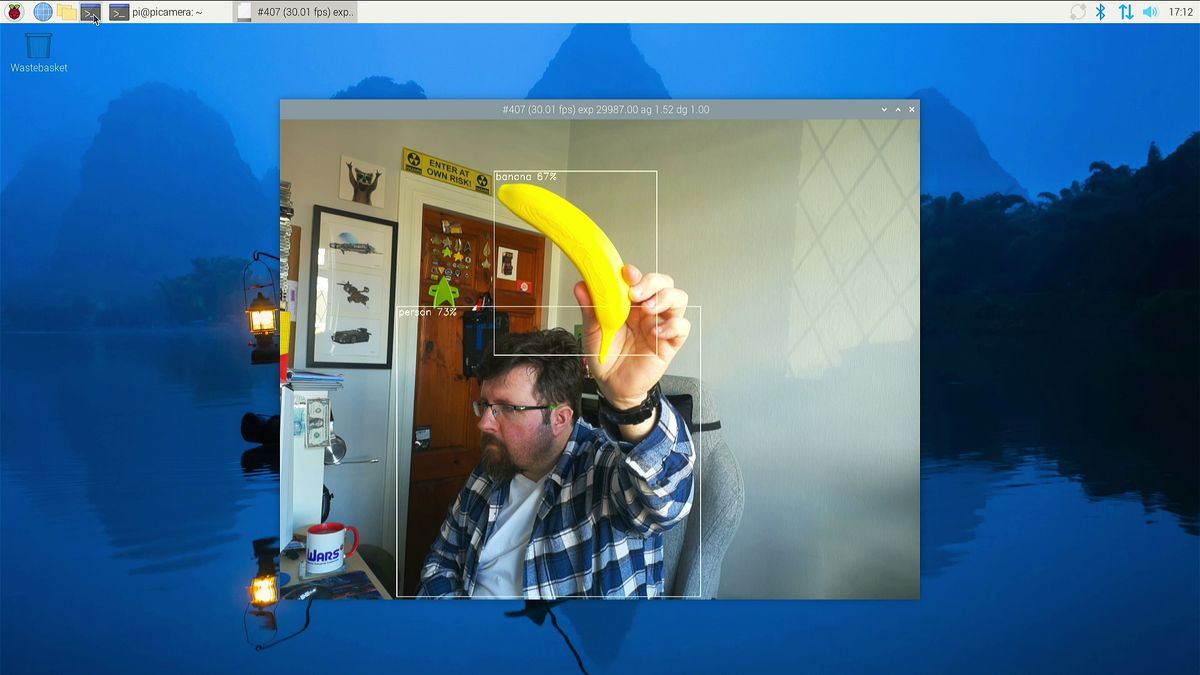
Using the rpicam-hello object detection demo script I was able to see the AI camera detect a person, me, in the shot with a high percentage of confidence. I then reached for a series of props, a water bottle and a 3D printed banana for scale. All of these objects were detected, once the image was in focus. We’ve got to remember that this is a 20 cm to infinity lens, so getting too close will cause the image to blur, and the AI model will fail to detect the object.

I then moved on to pose detection, and performing what can only be described as an amateur dramatic level rendition of Michael Jackson’s Thriller, I could see the AI model detect my pose as a wireframe across my shoulders and arms.
These demos are great, but can we use the Raspberry Pi AI Camera in a project? Yes we can! Using the Picamera2 library we can bring the power of the AI camera into a Python project. Pose detection can be used to control a motor, trigger a sound effect or anything really. At a fun level we could use this to trigger magic effects in a video, at a more serious level this could be used for gesture control as a life enhancing tool.
The Sony IMX500 has a tool to convert PyTorch or TensorFlow models into something that the Sony IMX500 understands. These can be installed from the terminal using pip. You’ll need to install the modules into a virtual environment, as per PEP668 guidance.
Why not just buy the Raspberry Pi AI Kit and the Camera Module v3?
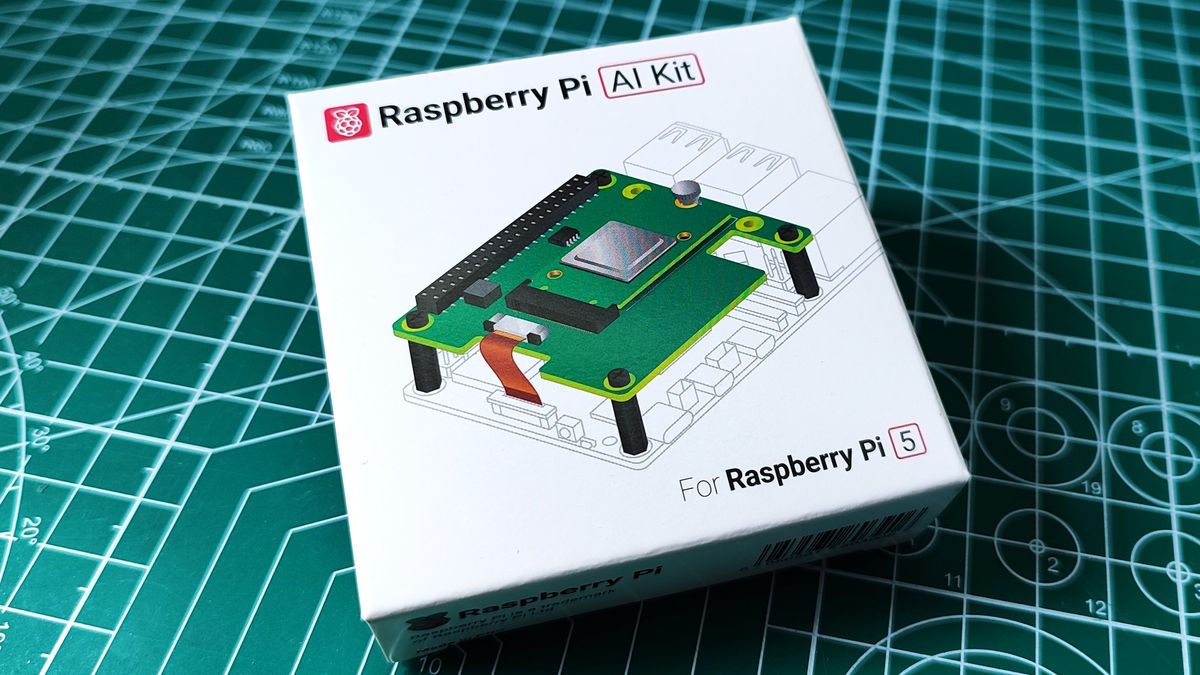
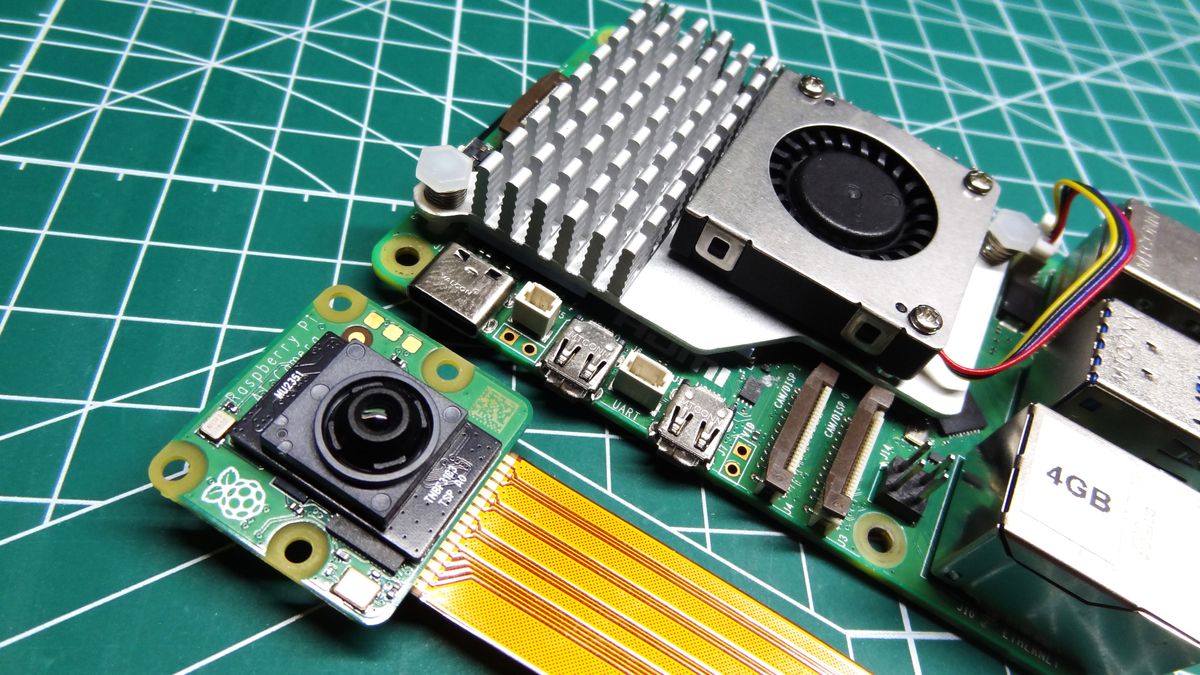
Ok, the Raspberry Pi AI Kit has a much more powerful NPU. The $70 Raspberry Pi AI Kit comes with the Hailo-8L NPU as an M.2 2242 package. Using the M.2 HAT+ board, the Hailo-8L connects to the PCIe bus and provides around 13 TOPS (Tera-Operations Per Second) of performance with TensorFlow, TensorFlow Lite, Keras, PyTorch & ONNX. But if we want to use a camera, then we need to pay an additional $25. If we want to use a hard drive, then we are out of luck because the Hailo-8L is occupying the only spot.
The Raspberry Pi AI Camera may not have the same performance as the Hailo-8L; we’ve not been able to confirm the performance, but we can hazard a guess that the Hailo-8L is more performant than the RP2040. We’d love to see how the RP2350 performs, but that is the subject of another story.
If you crave the ultimate AI performance for your Raspberry Pi, then the Raspberry Pi AI Kit is for you. But for the majority of us, the Raspberry Pi AI Camera does a great job.
Who is the Raspberry Pi AI Camera for?
Because this is an “all-in-one” device, we can see the AI camera being used in schools and for light AI projects in an industrial setting. For robotics projects, the Raspberry Pi AI Camera will be superb, offering enough smarts for obstacle detection, without forcing you to redesign your chassis.
The RP2040 brains in the camera are good enough to get the job done, heck we’d say that they are more than good enough for 99% of users. Power AI users will want a little more muscle, and for that the Raspberry Pi AI kit should be your first port of call. You can still connect a Camera Module v3 and use the Hailo-8L NPU with Python to create a powerful AI based project. But if you are dipping your toe into AI, then the AI camera could be a great deal for $70.
Bottom Line
At $70, this is an expensive camera for the Raspberry Pi, but this isn’t “just a camera”. We get AI baked into the camera, an AI that we can use with our PyTorch or TensorFlow models thanks to Picamera2 integration. It just works. Even our review unit with its pre-release software, just worked once we got the process down. This is a great value AI kit for those of us who want to start using AI with cameras.
#Raspberry #Camera #Review #masses